
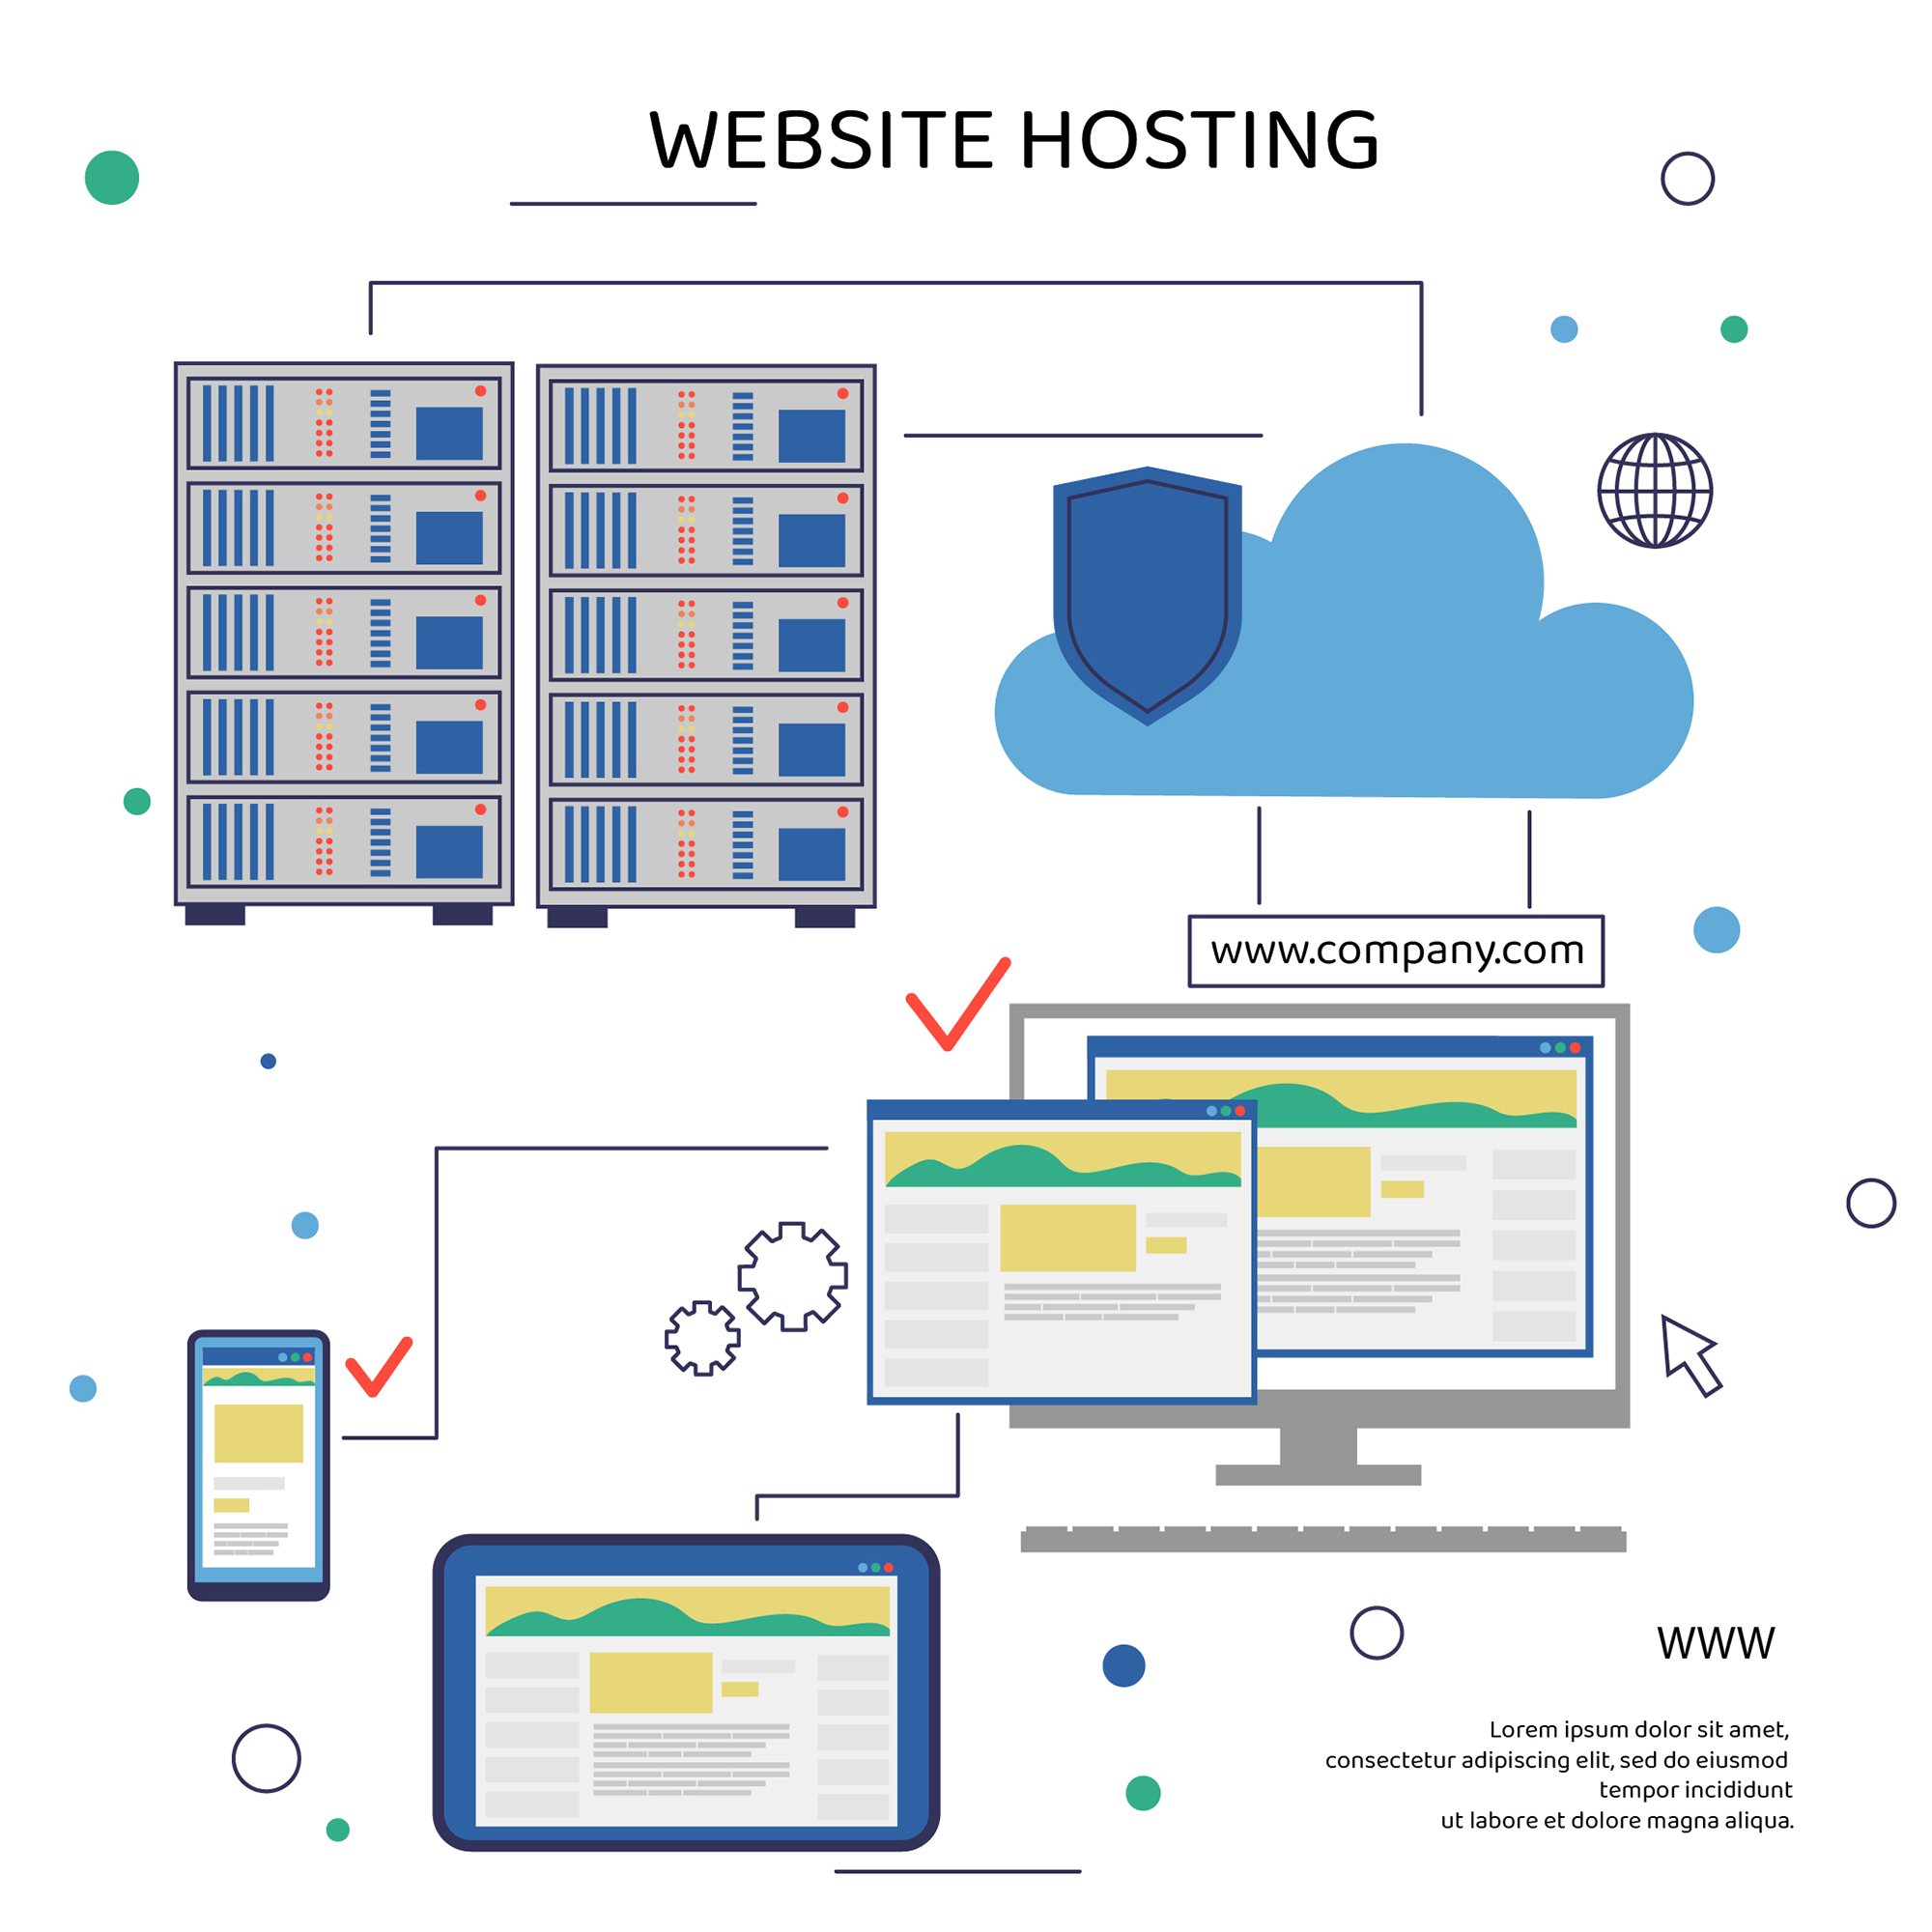
Migrating your website to a new hosting provider can seem daunting, but with careful planning and execution, the process can be smooth and stress-free. Whether you’re looking for better performance, enhanced features, or improved support, changing hosting providers is often a step toward growth. In this comprehensive guide, we’ll walk you through every step of the website migration process to ensure a seamless transition.
Why Migrate Your Website to a New Hosting Provider?
There are several reasons why you might want to switch hosting providers:
- Performance Issues: If your current hosting provider cannot handle your website’s traffic or has slow load times, it’s time for an upgrade.
- Better Features: Modern hosting providers often offer advanced features such as SSD storage, automatic backups, and enhanced security.
- Cost-Effectiveness: Switching to a hosting provider with competitive pricing and better value can save you money.
- Customer Support: Reliable customer service is crucial for troubleshooting issues.
Pre-Migration Checklist
Before starting the migration process, prepare by ticking off these essential tasks:
- Understand Your Website’s Requirements
- Assess the storage, bandwidth, and performance needs of your website. Knowing your requirements will help you choose the right hosting plan.
- Choose the Right Hosting Provider
- Research hosting providers that align with your needs. Look for providers that offer excellent uptime guarantees, robust security, and responsive customer support.
- Create a Backup of Your Website
- Backup all files, databases, and configurations to ensure you have a failsafe if anything goes wrong during the migration.
- Gather Necessary Credentials
- Collect the login credentials for your current hosting account, new hosting account, and domain registrar.
Step-by-Step Guide to Migrating Your Website
Step 1: Select a New Hosting Provider
Your first step is to select a hosting provider that meets your website’s current and future needs. Some popular hosting providers include:
- Bluehost
- SiteGround
- HostGator
- DreamHost
Compare features such as uptime, storage options, scalability, and pricing before making a decision.
Step 2: Back Up Your Website
Before making any changes, create a complete backup of your website. This includes:
- Files: Download all your website files via FTP or your hosting provider’s file manager.
- Databases: Export your databases using tools like phpMyAdmin.
Many hosting providers offer automated backup solutions, but it’s a good idea to have a manual backup for added security.
Step 3: Set Up Your New Hosting Account
Once you’ve chosen your new hosting provider, sign up and set up your hosting account. Follow these steps:
- Access the hosting control panel (e.g., cPanel or Plesk).
- Add your domain name to the new hosting account.
- Set up an email account if your domain uses email services.
Step 4: Transfer Website Files
Use FTP software like FileZilla to upload your website files from the backup to your new hosting account. Be sure to maintain the same file structure to avoid errors.
Step 5: Import Your Database
If your website uses a database (e.g., MySQL), follow these steps:
- Create a new database on your new hosting provider.
- Import your database backup using phpMyAdmin or another database management tool.
Update the database configuration file in your website’s code (e.g., wp-config.php for WordPress sites) to reflect the new database details.
Step 6: Test Your Website on the New Hosting
Before updating the DNS settings, test your website on the new hosting provider to ensure everything is working correctly:
- Use a temporary URL or staging environment provided by your hosting provider.
- Check all pages, links, forms, and functionalities for errors.
Step 7: Update DNS Settings
Once you’re confident that your website is functioning correctly, update your domain’s DNS settings to point to the new hosting provider. To do this:
- Log in to your domain registrar’s control panel.
- Replace the old nameservers with the nameservers provided by your new hosting provider.
Note that DNS changes can take up to 48 hours to propagate globally.
Step 8: Monitor Your Website
After the migration is complete, closely monitor your website for any issues. Check:
- Website speed and performance
- Functionality of plugins, widgets, and forms
- Error logs for any critical issues
Tips for a Successful Website Migration
- Choose Off-Peak Hours: Schedule your migration during times when your website receives minimal traffic to reduce the impact on visitors.
- Inform Your Audience: If you anticipate downtime, notify your audience in advance through email or social media.
- Test Extensively: Conduct thorough testing on the new hosting environment to ensure all functionalities are intact.
- Leverage Support: Don’t hesitate to reach out to the customer support teams of both your current and new hosting providers for assistance.
Common Challenges and How to Overcome Them
- Downtime
- Minimize downtime by preparing backups and testing the new setup before updating DNS settings.
- Data Loss
- Always create multiple backups of your website files and databases.
- Compatibility Issues
- Ensure your new hosting provider supports the technologies and frameworks used by your website.
- Broken Links or Missing Files
- Use tools like Screaming Frog or Google Search Console to identify and fix broken links after the migration.
Benefits of Migrating to a Better Hosting Provider
- Improved Website Performance: Faster loading times enhance user experience and SEO rankings.
- Enhanced Security: Advanced security measures protect your website from potential threats.
- Better Scalability: Upgrade resources easily as your website grows.
- Superior Support: Reliable customer service ensures quick resolution of issues.
Conclusion
Migrating your website to a new hosting provider is a significant step toward improving your website’s performance, security, and scalability. By following this step-by-step guide and preparing thoroughly, you can ensure a smooth transition with minimal disruption to your website’s operations. Remember to choose a reliable hosting provider, back up your data, and test your website extensively before making it live.
Ready to take your website to the next level? Start planning your migration today and enjoy the benefits of a hosting provider that truly meets your needs.